A Unique Approach to Keep Exact Gunite Thickness in a Chimney Stack
Many times, gunite jobs are fairly straightforward; a refractory contractor can just “go in and blow” the gunite to install the refractory material.
One of our recent gunite jobs, however, was quite complex.
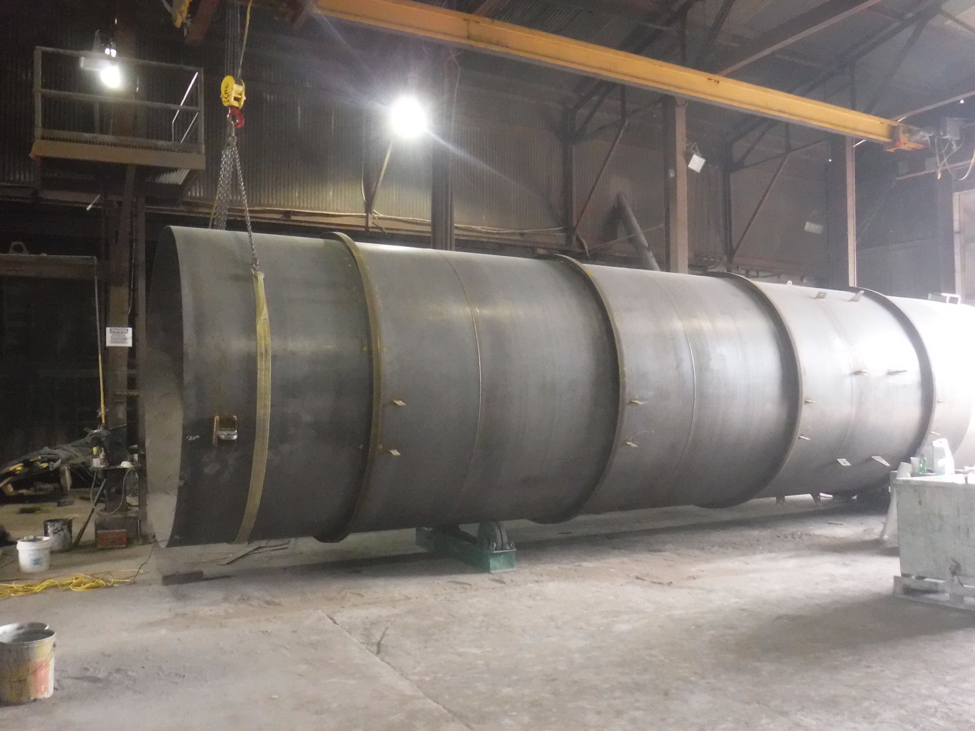
Our client was an Original Equipment Manufacturer (OEM) who had engineered and built two 40-foot steel “stack tops” that would be installed as the final piece on a 200-foot stack at a plant in the southeastern US.
The weight was critical in these stack tops. The stack tops were designed without flanges, so they’d be lifted via crane and placed on top of the existing 160 plus-foot stack and welded 100% solid, both inside and out.
Normally, in these types of jobs, the refractory is gunned in place. However, with the very short downtime of the plant, the OEM needed the work completed before the installation.
The OEM was seeking a specialty refractory contractor with the skill and experience to handle the job. By word of mouth, F.S. Sperry was recommended and we reviewed the project particulars and accepted the job.
Solution
The OEM had chosen a Chemical Resistant Castable as the refractory material.
Our first step was to view the stack tops where they were being fabricated – close by one of our office locations. To keep the exact material thickness throughout the entire stack top, there was no way we could gunite deep into the stack. And we also couldn’t gun the bottom because we would be fighting the overspray and rebound materials.
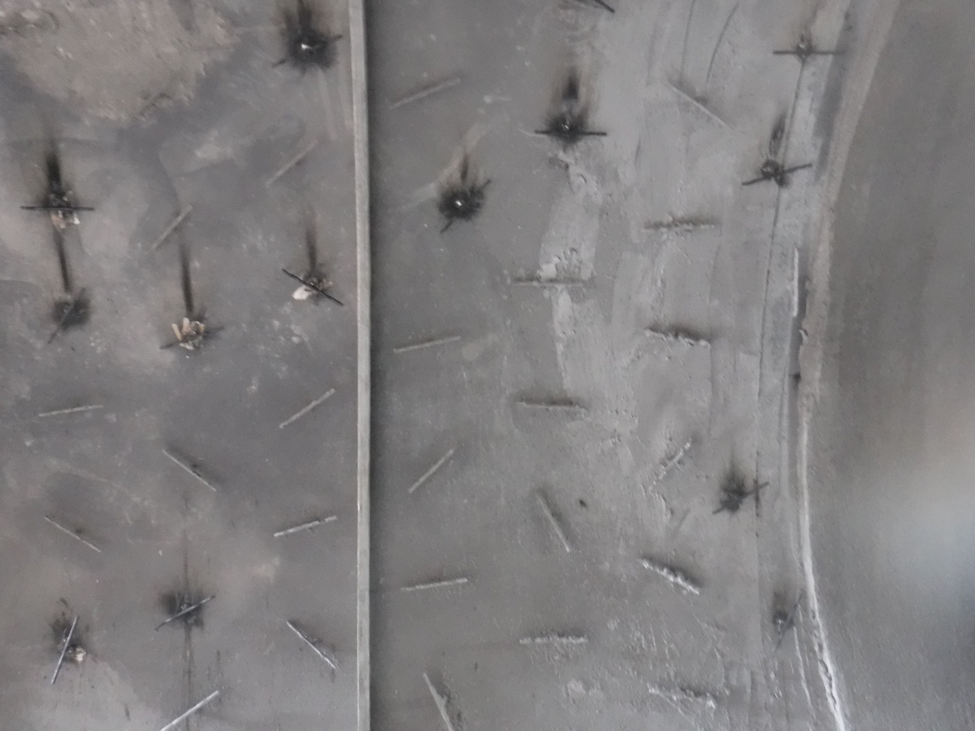
In addition, the stack contained T-type anchors that called for very tight tolerances. Too much gunite and we would exceed the weight requirement. Too little gunite and the anchors would be exposed. Not enough air pressure and material output and the anchors would be covered over and not filled underneath the T’s.
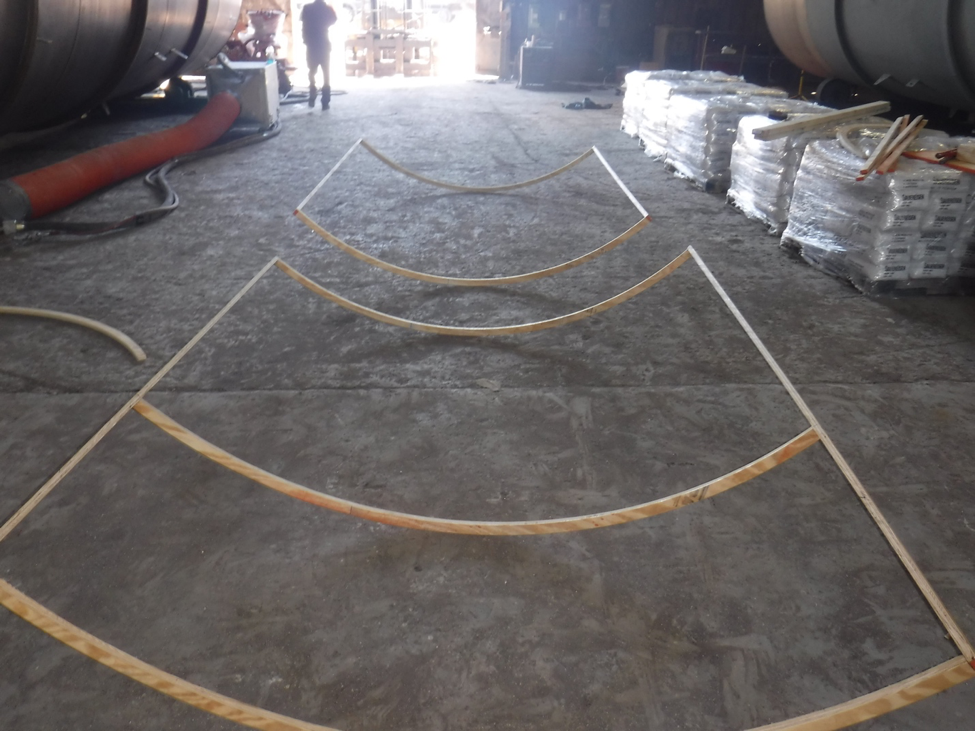
Our solution was to create a system that would allow us to gunite in small sections and keep it at the exact required thickness. The forms were built using the curvature of the stack and covering ¼ of the interior circumference.
We installed the forms on each side of the stack, with a walk board on the bottom.
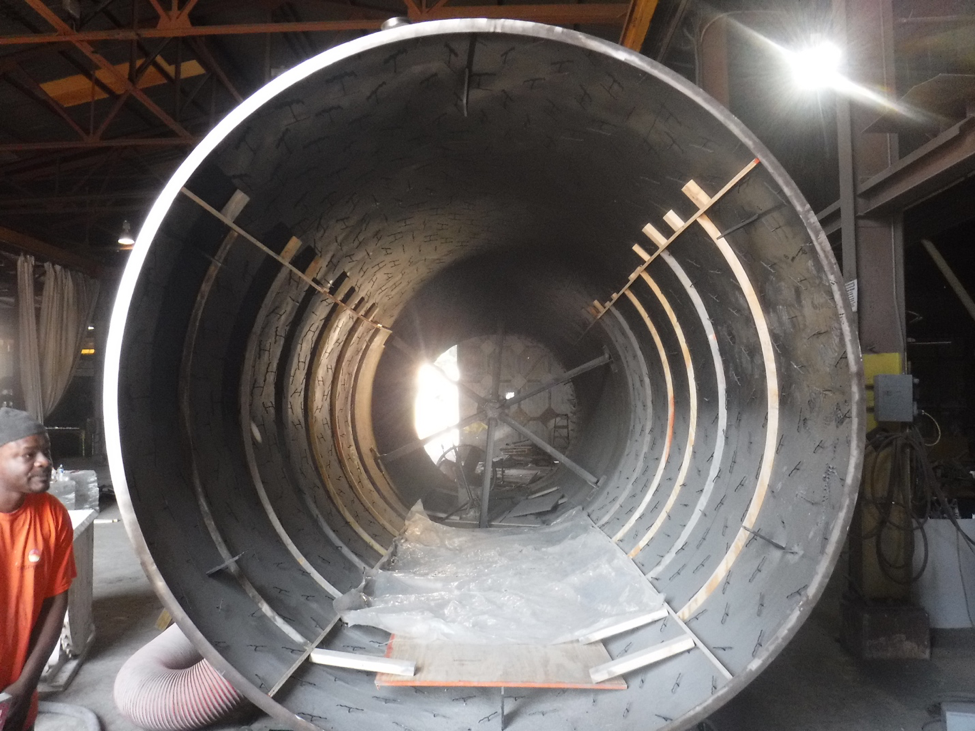
We then left a gap and installed the next set of forms. Since the forms had to be removed, we couldn’t gunite sequentially down the stack. So, our plan was to gun alternating sections, and when we removed the forms, the cured gunite would serve as our guide to achieve the desired thickness.
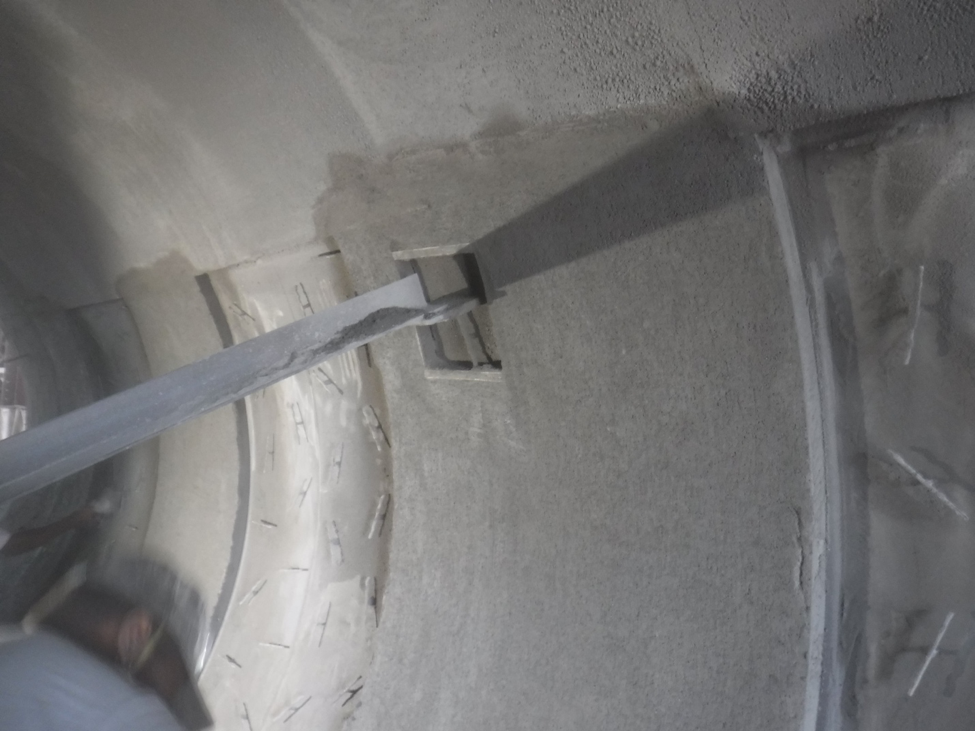
Another challenge was dealing with 1-foot steel supports throughout the stack top interior to support “webbing braces.” The manufacturers left one support webbing brace in the stack during the refractory installation, which you can see here.
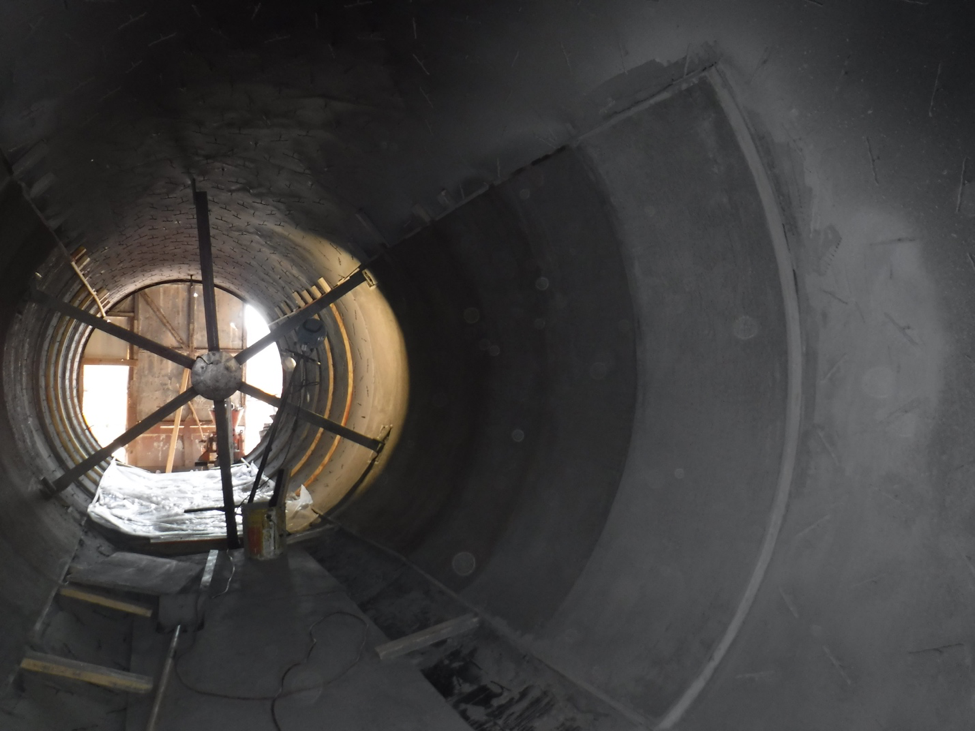
However, for transport to the plant, braces would be added throughout the stack and attached to these preinstalled brace holders.
We had to block off 1-foot square around them because these areas had to be exposed.
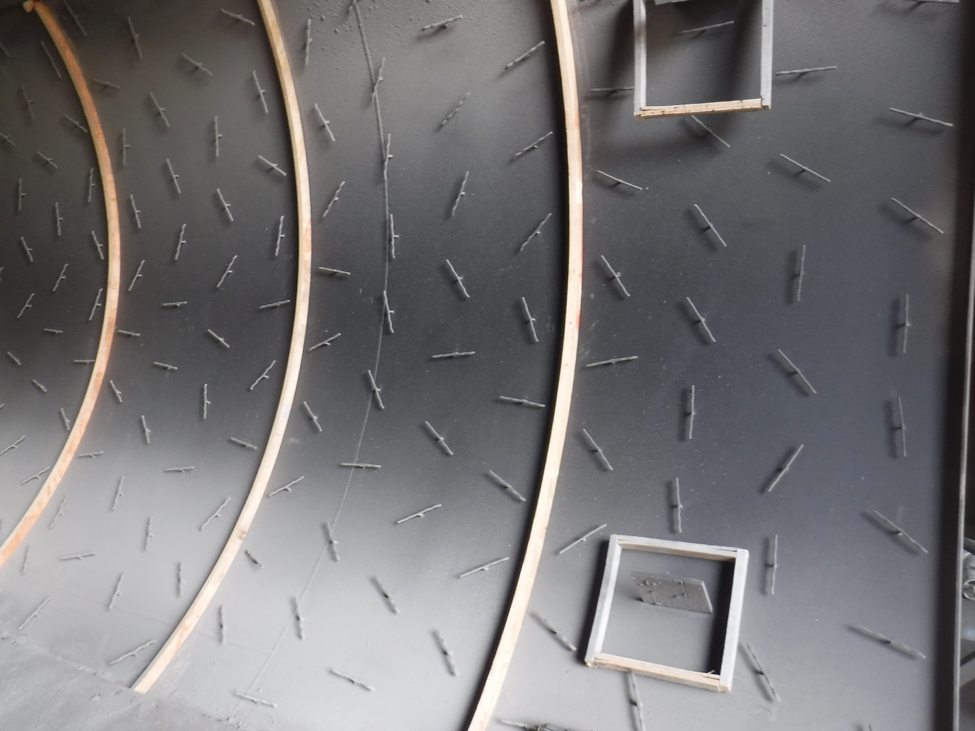
We had just over a couple of weeks to complete the job from design to finish. We developed our plan, reviewed logistics and allocated time for each stack. Our team members built the forms in-house, managed the entire scope of work, and handled the gunite because of their experience and skill with installing gunite. (It was critical to keep the water mix accurate and minimize rebound.)
The forms were installed in the full length of a stack, then we began guniting.
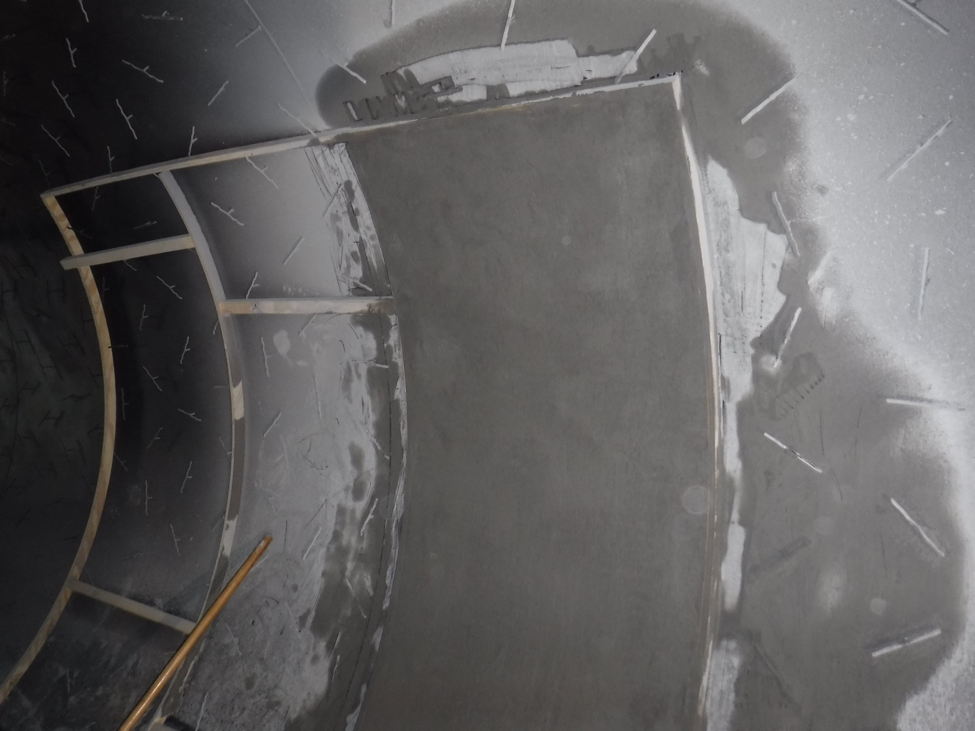
After the refractory was installed in sections, we rolled the stack segment, applied the walking boards, reapplied the forms, and continued to complete the job.
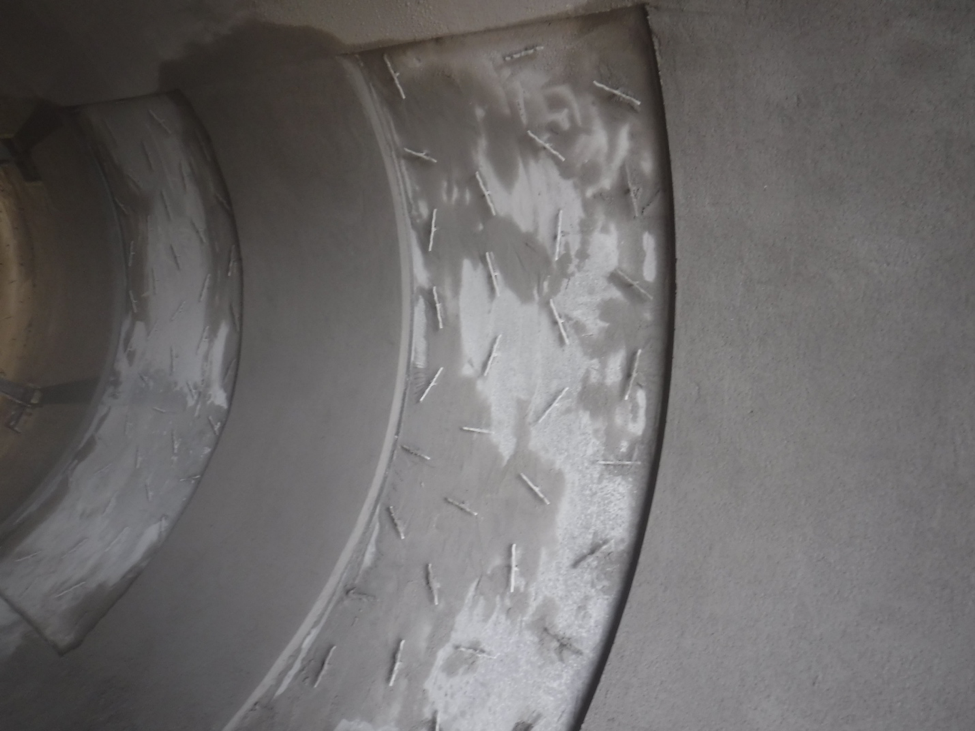
Results
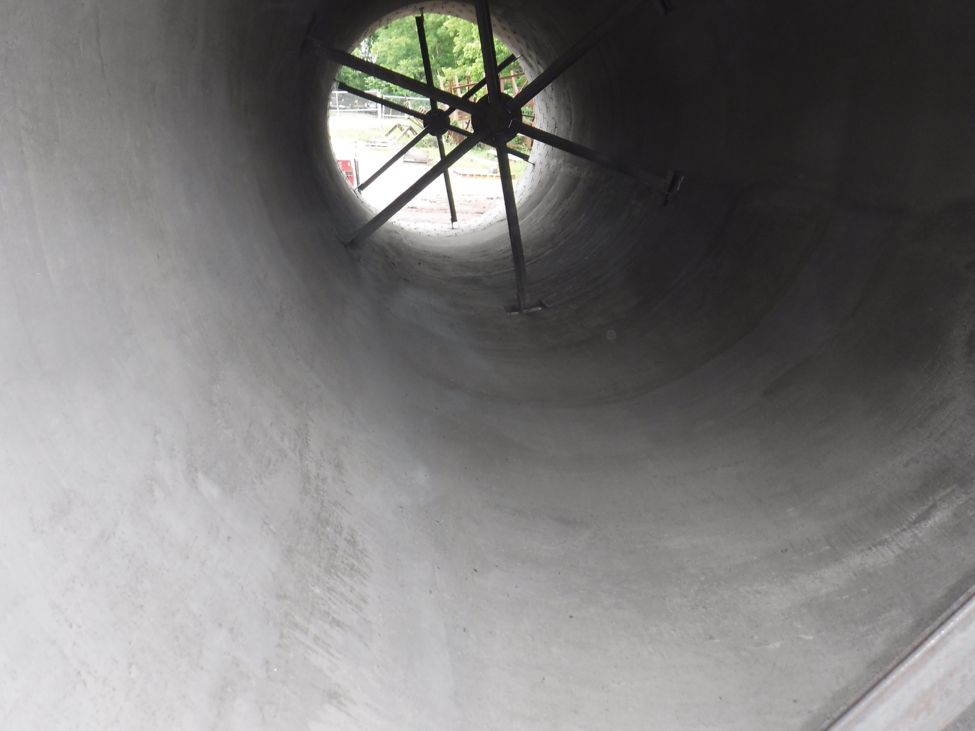
Less than a week after our completion, the stack tops were in place. The manufacturer was happy and the end customer was very happy, so we’re now performing the same work on another set of stack tops.
The key to our success on this job was the planning and preparation by our team. Keeping the exact depth throughout these long stacks required a creative solution and flawless execution. We’re proud of our Columbia team for their great work on this job!
Comments are closed.

